
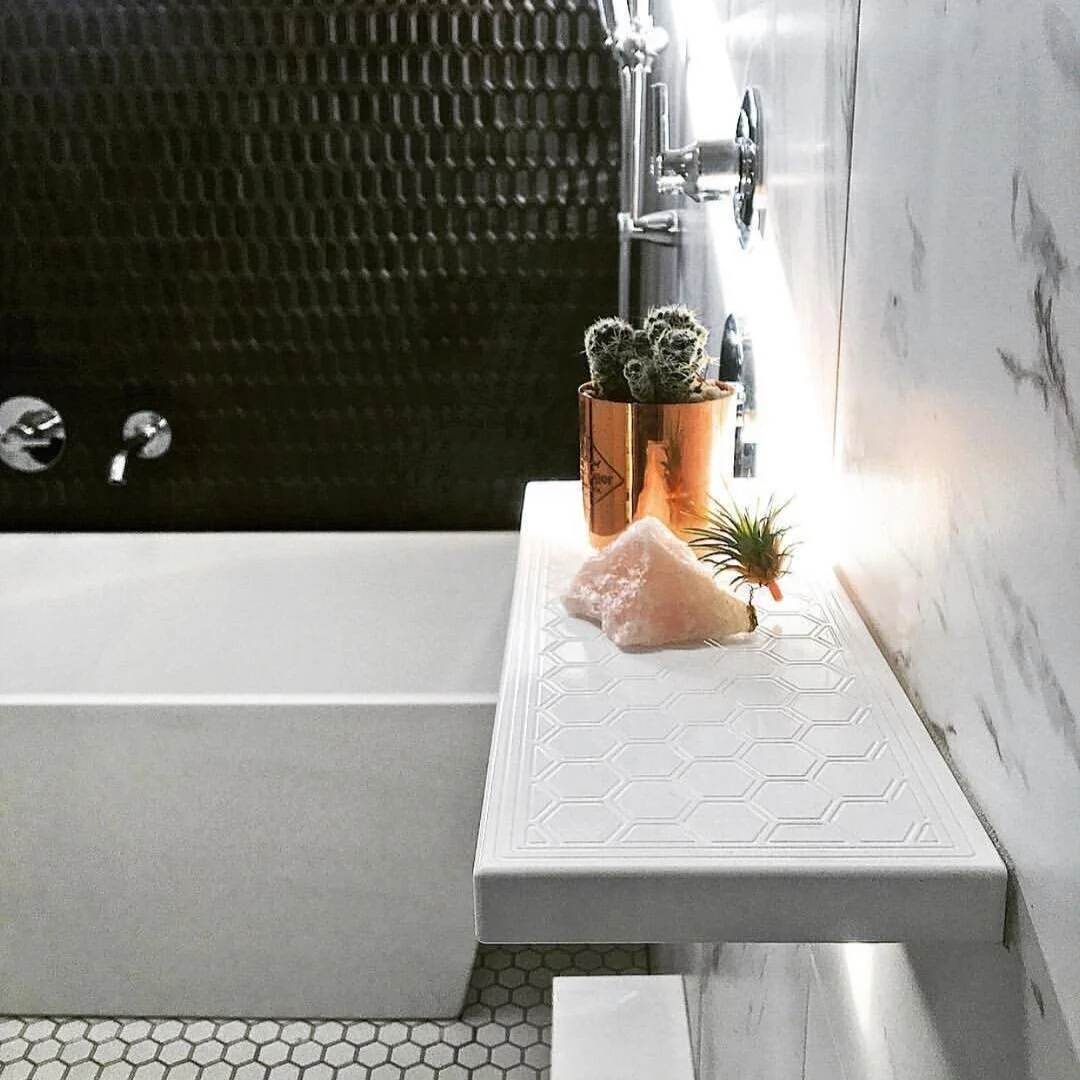
Tile installation can transform any space, adding elegance and functionality. However, achieving a seamless finish requires planning, precision, and a bit of expertise. Whether you’re a DIY enthusiast or a professional, understanding the nuances of tile installation is crucial. This article delves into expert tips and techniques that ensure flawless results, making your tile installation process smoother and more efficient. From choosing the right materials to mastering the installation techniques, these insights will guide you through each step. For those seeking further information, explore advanced guides and tips tailored to your needs.
Choosing the Right Tile and Materials
Selecting the appropriate tile and materials is the foundation of a successful installation project. Here are some key considerations:
- Material Type: Decide between ceramic, porcelain, stone, or glass tiles. Each has unique properties suited for different environments.
- Tile Size and Pattern: Large tiles can make a space appear larger, while smaller tiles are ideal for intricate designs.
- Durability: Consider the tile’s hardness and resistance to wear, especially for high-traffic areas.
- Grout Selection: Choose a grout that complements the tile color and ensures water resistance.
To explore a variety of materials and find the perfect fit for your project, discover expert strategies here.
Preparing the Surface
A well-prepared surface is crucial for achieving a seamless tile installation. Proper preparation includes:
- Cleaning: Ensure the surface is clean and free of debris, dust, and grease.
- Leveling: Use leveling compounds to address any uneven areas on floors or walls.
- Priming: Apply a suitable primer to enhance the adhesion of tiles to the surface.
- Moisture Barrier: Install a moisture barrier in areas prone to dampness, such as bathrooms and kitchens.
For a comprehensive understanding of surface preparation techniques, learn about our tailored solutions.
Mastering Tile Installation Techniques
Cutting and Placing Tiles
Precision in cutting and placing tiles ensures a professional finish:
- Measuring and Marking: Measure the area accurately and mark the tiles before cutting.
- Using the Right Tools: Employ a wet saw or tile cutter for clean, precise cuts.
- Dry Fitting: Lay out tiles without adhesive to confirm placement and alignment.
Applying Adhesive and Setting Tiles
Proper application of adhesive is key to secure tiles firmly in place:
- Choosing the Adhesive: Select an adhesive suitable for the tile type and surface.
- Spreading Adhesive: Use a notched trowel for even application.
- Setting Tiles: Press tiles firmly into the adhesive, using spacers for consistent gaps.
To further refine your technique, find out more about this approach.
Finishing Touches for a Polished Look
The final steps in tile installation involve grouting and sealing:
- Grouting: Apply grout with a rubber float, removing excess with a damp sponge.
- Sealing: Protect tiles and grout lines with a high-quality sealant to prevent stains and moisture penetration.
- Polishing: Buff the tiles to enhance their natural shine and appeal.
For additional tips on achieving a professional finish, discover expert strategies here.